As a long-time truck owner and frequent trailer hauler, installing a tow hitch was one of the most useful projects I’ve done.
You should also read: How much does trailer hitch installation cost?
While professional installation is an option, I found that with a few tools, some perseverance, and this handy guide, DIY hitch installation can be simple.
| Step | Description |
|---|---|
| 1. Gather the Required Tools and Materials | You’ll need a trailer hitch, hitch ball mount, wiring harness kit, torque wrench, sockets, ratchet, safety glasses, and jack stands or ramps. |
| 2. Prepare the Vehicle | Park the vehicle on a level surface and apply the parking brake. Use jack stands or ramps to gain access underneath. |
| 3. Remove Rear Components (If Necessary) | Some vehicles require removing components like the rear bumper, exhaust hangers, or trim pieces for hitch installation access. |
| 4. Locate the Mounting Areas | Consult your vehicle’s service manual or the hitch instructions to identify the correct mounting locations on the frame. |
| 5. Install the Hitch Receiver | Raise the hitch receiver into position and secure it to the vehicle’s frame using the provided bolts, washers, and nuts. Torque the fasteners to the specified values. |
| 6. Reinstall Removed Components | Reattach any components you had to remove, like the bumper, exhaust hangers, or trim pieces. |
| 7. Install the Wiring Harness | Route the wiring harness from the hitch receiver to your vehicle’s battery or electrical system, following the instructions. |
| 8. Test the Connections | With the wiring installed, test the trailer light connections using a circuit tester or by temporarily connecting trailer lights. |
| 9. Install the Hitch Ball Mount | Secure the hitch ball mount to the receiver tube, tightening it to the recommended torque specification. |
| 10. Complete and Enjoy! | Double-check all connections, test the lights again if needed, and you’re ready to tow with your newly installed trailer hitch. |
Table of Contents
Where to Start: Choosing The Correct Class of Tow Hitch
The most vital part of a smooth hitch installation is choosing the right class tow hitch for your vehicle from the start. I learned this lesson the hard way after incorrectly ordering a class III (up to 5000 lbs) when my SUV’s limit was 1500 lbs.
When determining which type suits your needs, there are two key weights to factor in:
- Gross Trailer Weight (GTW) – The max load of the trailer when attached to your vehicle.
- Tongue Weight (TW) – The downward pressure placed on the hitch ball, typically 10-15% of the GTW.
Here is an overview of the common trailer hitch classes and capacities:
| Hitch Class | Example Vehicles | Max Towing Capacity |
|---|---|---|
| Class I | Sedans, small SUVs | Up to 2,000lbs |
| Class II | Most vehicles | Up to 3,500lbs |
| Class III | Trucks, large SUVs | Up to 5,000lbs |
| Class IV | Heavy-duty trucks | Up to 10,000lbs |
Once you’ve verified your car’s total tow rating, the hitch selection comes next.
As a rule of thumb, choose a hitch class that exceeds your vehicle’s limit so you never risk overloading.
Most receiver hitches have either a 1 1⁄4” or 2″ receiver tube—measure yours before ordering a ball mount.
You’ll also want an appropriate drop or rise to keep your trailer level.
Equipment Needed
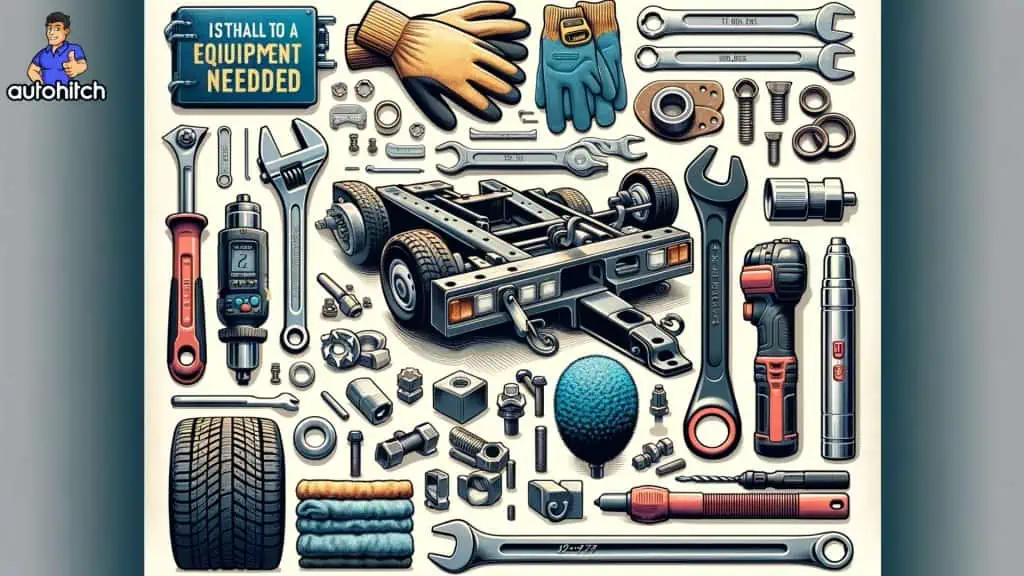
A smooth install starts with the right gear. While requirements vary between hitch types and vehicles, here are the basics I used:
- Protective equipment – gloves, safety glasses
- Socket sets, wrenches, torque wrench
- Wheel chocks, jack, and jack stands
- Wire brush, rags, flashlight
- Locating bolts, washers, clips
- Drill with bits (only if needed)
Pro Tip: Don’t forget the instruction manual! I reference mine repeatedly since bolt torque specs and hardware can vary.
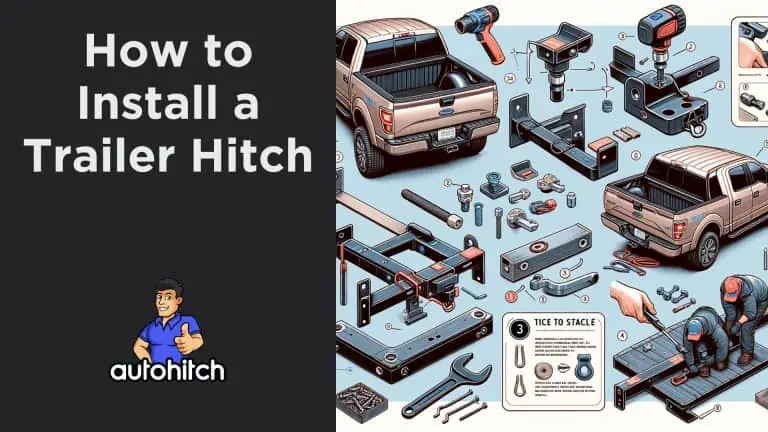
Step-By-Step Installation Guide
Here are the steps for a DIY installation of a trailer hitch:
1. Gather the Required Tools and Materials
You’ll need a trailer hitch [1, {ts:6}], hitch ball mount, wiring harness kit, torque wrench, sockets, ratchet, safety glasses, and jack stands or ramps.
2. Prepare the Vehicle
Park the vehicle on a level surface and apply the parking brake. Use jack stands or ramps to gain access underneath.
3. Remove Rear Components (If Necessary)
Some vehicles require removing components like the rear bumper, exhaust hangers, or trim pieces for hitch installation access.
4. Locate the Mounting Areas
Consult your vehicle’s service manual or the hitch instructions to identify the correct mounting locations on the frame.
5. Install the Hitch Receiver
Raise the hitch receiver into position and secure it to the vehicle’s frame using the provided bolts, washers, and nuts. Torque the fasteners to the specified values.
6. Reinstall Removed Components
Reattach any components you had to remove, like the bumper, exhaust hangers, or trim pieces.
7. Install the Wiring Harness
Route the wiring harness from the hitch receiver to your vehicle’s battery or electrical system, following the instructions.
8. Test the Connections
With the wiring installed, test the trailer light connections using a circuit tester or by temporarily connecting trailer lights.
9. Install the Hitch Ball Mount
Secure the hitch ball mount to the receiver tube, tightening it to the recommended torque specification.
10. Complete and Enjoy!
Double-check all connections, test the lights again if needed, and you’re ready to tow with your newly installed trailer hitch!
Common Mistakes to Avoid On a Hitch Installation
With inadequate prep and tools, I encountered a few hiccups on my first DIY hitch project. Here are some handy tips:
- Don’t eyeball hitch size – carefully measure vehicle limits first
- Use rounded washers if U-bolts don’t fit frame contours
- Ensure carriage bolts seat fully into square holes
- Triple check electrical connectors to avoid shorts
- Re-torque bolts after a month of driving
My Final Thoughts
Tackling a trailer hitch installation yourself may seem intimidating, but as long as you choose the correct parts and take precautions, you can save hundreds of dollars. Let me know if any questions pop up along your project!
Sources and Citations
- https://www.curtmfg.com/trailer-hitch-installation
- https://www.etrailer.com/faq-installtips.aspx
- https://youtube.com/watch?v=dDaujDjmo0U
- https://knowhow.napaonline.com/3-trailer-hitch-installation-tips-to-make-the-job-easier/
- https://youtube.com/watch?v=ekuddO5u4TI
- https://www.oldcarsweekly.com/review/intalling-a-trailer-hitch/
Disclaimer: This article is meant for general informational purposes only. Proceed at your own risk and consult a professional if unsure. The author and publisher disclaim any liability for injury or damages that result from following these steps.